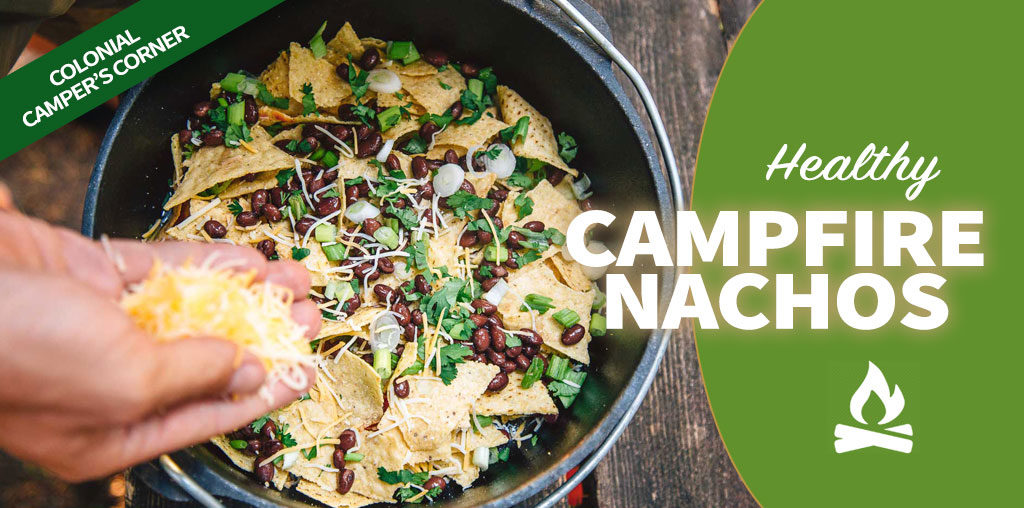
A beloved happy hour classic, now being served at a campground near you. What better way to end the day outside than with a cold beer, warm campfire, and a big pot full of cheesy nachos?
As irresistible bar food and/or lazy weeknight dinner, nachos seem ideally suited to be a camping staple. They can be made from a variety of fresh and/or canned ingredients, doesn’t require any specific culinary expertise to pull off, and can be eaten with your hands.
However, the lack of a conventional oven might lead people to believe such cheesy, crunchy deliciousness isn’t achievable in the great outdoors. Not true!
By using a cast iron Dutch oven with a lid, you can make nachos no matter where you are. With a Dutch oven, you can place coals or embers on top as well as underneath, allowing you to cook your meal from both sides. However, with nachos, it’s even possible to do the whole thing on the camp stove or over a fire. So long as you include a little bit of liquid in the bottom (perhaps from your tomatoes, beans, or black olives) the steam created will melt the cheese and soften the chips slightly. The end result is tender chips, loaded with melted cheese and toppings.
While these techniques will help you make nachos at a campground, the secret to exceptional nachos lies in one simple concept: layers!
Why it Works for Camping
‣ Nachos are a fun, easy, and communal meal that takes very little time to prepare.
‣ Perfect as a quick appetizer for larger groups or a full entree for two.
‣ There are very very few ways this can get screwed up. You’re essentially just melting cheese, so the barrier to entry for this meal is pretty low, even for camp cooking novices.
‣ Endless customization. What toppings make the perfect batch of nachos, only you can decide!
Mastering the Technique
‣ Layers, layers, layers. The key to exceptional nachos comes down to whether you take the time to build multiple layers of cheese and toppings. If you build your nachos correctly, each chip is a celebration of crunch, cheese, and delicious topping.
Equipment Notes
‣ While a cast iron Dutch oven is the preferred vessel for making nachos, it would also be possible to make a smaller portion in a cast iron skillet with a lid. The key is having some sort of lid to trap the steam inside to help melt the cheese and slightly soften the chips.
‣ Don’t have a lid for your Dutch oven or cast iron skillet? A sheet of aluminum foil over the top should do the trick, or you could cover it with a large plate.
Ingredient Notes
‣ Cheese selection can be highly subjective, but we prefer a mix of Sharp Cheddar, Colby, and Monterey Jack blend. You can do this yourself or pick up a bag of Shredded Mexican Cheese.
‣ If you’re using fresh ingredients like chiles, onions or uncooked meats, you’ll want to saute them first and make sure they’re cooked thoroughly before building your nachos.
‣ The fresher the ingredients the better your nachos will taste, but this meal can also rely heavily on canned pantry items like fire roasted tomatoes, black beans, roasted green chiles, or black olives.
INGREDIENTS
- 1 tablespoon neutral flavored oil
- 1/2 lb tortilla chips
- 1 (7.75 oz) can El Pato hot tomato sauce, or equivalent
- 1 cup shredded Mexican cheese blend
- 1 (14.5 oz) can black beans, drained
- 1 large avocado, cubed
- 4-5 green onions, sliced
- handful of fresh cilantro, chopped
- 1 small lime, cut into wedges
INSTRUCTIONS
-
Lightly oil the bottom of a large dutch oven, to prevent the nachos from sticking.
-
For the first layer, evenly spread 1/3 of the chips into the dutch oven, topped with 1/4 can El Pato, 1/4 can black beans, 1/4 cup cheese, and a handful of avocado, green onions, and cilantro. Repeat for the second layer.
-
For the third and final layer, use the remaining 1/3 portion of chips, 1/2 can El Pato, 1/2 can black beans, 1/2 cup cheese, and the remaining avocado, onion, and cilantro.
-
Cover the dutch oven and place on a metal grill over your campfire for about 10 minutes, until the cheese has melted. Serve with the lime wedges.
