While moving out day may not be the best day, here are a few tips from seasoned RVers to help make the process go more smoothly and safely. Many people suggest it’s best to work from the back to the front, leaving the bathroom for last.
Packing Up Inside the RV

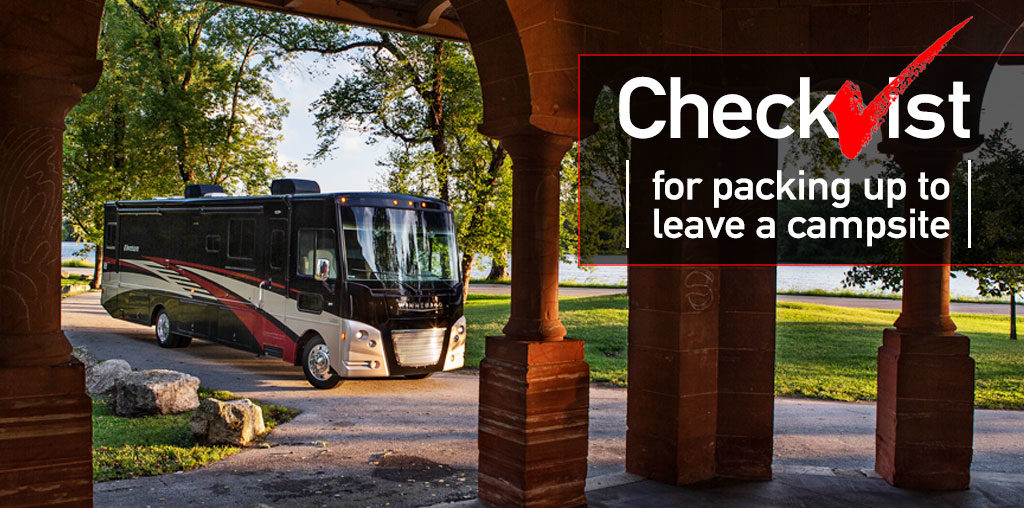
Packing, Cleaning & Securing
First, make sure everything is removed from all counters and nightstands. Also check that everything is clear for your slides to be retracted.
If you have any sliding doors in between sections of your vehicle, make sure that is secured by a snap strap to keep it in place while traveling.
Be certain that everything is off of your shower ledges and countertops. Also make sure to latch the shower door, so it is not sliding open while you drive. Check that your roof vents are all securely closed.

Moving Items for Easy Access
While packing up the bedroom, make sure any clothing items that you will need in transit are in cabinets or drawers that are accessible with the slides in. Check to see that all cabinets and drawers are securely closed.
You may want to remove your trash container (and pet’s food) from under our sink counter and place them under the dinette for easy access while traveling. Also consider placing items from the kitchen counter such as the dish drainer and dish soap in the sink for access and a quick and easy clean up.

Finishing Touches
Once everything is put away, spin the driver and passenger chairs around into their driving positions and dispose of any trash that may have accumulated from your stay.
Now it’s time to bring in all of our slides and retract our jacks.
Packing Up Outside the RV

Tank Related Tasks
First, fill your fresh water tank to the desired amount, which depends on how many days you will travel. Then disconnect the hose and put it away. Empty our holding tanks, remove the sewer connections and store them in the sewer bay.
Preparing for the Drive
Make sure clean your side windows, mirrors and the cameras that are installed in them, as well as your back-up camera.
Turn off your propane and the fridge since everything will stay cold for 8 -10 hours of driving. When you stop for the night, turn them back on.
After the jacks are up, check your tire pressure. Some people do this with a tire gauge and check each tire individually, but you can check them all simultaneously if you have an installed tire monitor system.
Be sure all items are powered off inside the RV, turn the breaker off on the camp post, remove your power cord and store it in the bay.
Final RV Checks
Do a quick visual inspection of the RV all around to be sure all slides are securely retracted, as well as your awning. I In addition, get down on the ground to be sure that your jacks have fully retracted, and check the area for anything that may prohibit you from safely exiting the site (i.e. tree stumps, light posts, small boulders, etc.)
Connecting a Towed Vehicle
If you have a vehicle in tow, now’s the time to connect it. It is fairly simple and can be done in about five minutes.
Connect your brake assist, put the car in neutral and turn the key to accessory mode to get it ready to travel. Then check that all of our lights and signals are operating correctly on the RV and the towed vehicle.
Cross Check — Just to Be Safe!
Double check that all of your connections are secure, and ensure the brake assist is connected properly. Do a walk around the RV to be sure you didn’t leave anything behind, and confirm that all campground connections have been removed and stowed.
When you come back inside, do a double check visual inspection of everything to be sure you are ready to go.
Get your coordinates programmed into your GPS , seat belts on, and you are now ready to roll!