This is custom heading element
With warmer weather on the way, many people are getting the itch to travel. If your RV has been in storage it will need to be de-winterized before hitting the road. Below are some of the steps to get your RV ready for the travel season. If you are unsure of any of the steps below, we offer a de-winterizing service at Colonial RV.
Clean & Inspect Exterior
The first step is to give your RV a good cleaning, especially if stored outside in the elements during winter. When washing the exterior we prefer to use just soap and water, if you use any cleaning products be sure it is safe to use on a clear coat and graphics. After cleaning, inspect the exterior seams for any cracks or leaks and reseal if necessary. Be sure to check the exterior vents, doors, windows, exterior storage compartments, and slide-outs for leaks or damage.

Flush Plumbing
If your RV has been winterized with RV antifreeze in the plumbing lines, the water system will need to have the antifreeze flushed out. Each RV will be different but the process is similar.
To drain the antifreeze, fill your fresh tank with water. Once you have fresh water in your tank, turn on your water pump and open all hot and cold faucets in your RV until the water runs clear. Once this is done, you’ll want to flip your hot water by-pass valve on your water heater.
Next, refill the fresh water tank and run all water systems again. Check for any leaks, they are most likely to occur near the fittings. To sanitize the water system, mix ¼-cup of liquid household chlorine with one gallon of water. Use one gallon of this solution for every 15 gallons of fresh water tank capacity your RV has. Finish filling your tank with fresh water and turn on your water pump letting the water run until you can detect a chlorine smell. Then let your water system stand and wait at least four hours. After waiting, drain the chlorine solution, refill the tank with fresh water, open the faucets, and let the water run until there is no chlorine smell.
Batteries
Your RV battery system is one of the most important components, without it you have no power. The first step is to inspect the battery for any cracks or damage, if there is any corrosion be sure to clean it.
If the batteries have been stored for any period of time they will need to be charged. If you have lead-acid batteries, check to see if the water levels are low, they can be filled with distilled water if needed. Be sure to wear gloves, eye protection, and always wash your hands afterward.
Propane
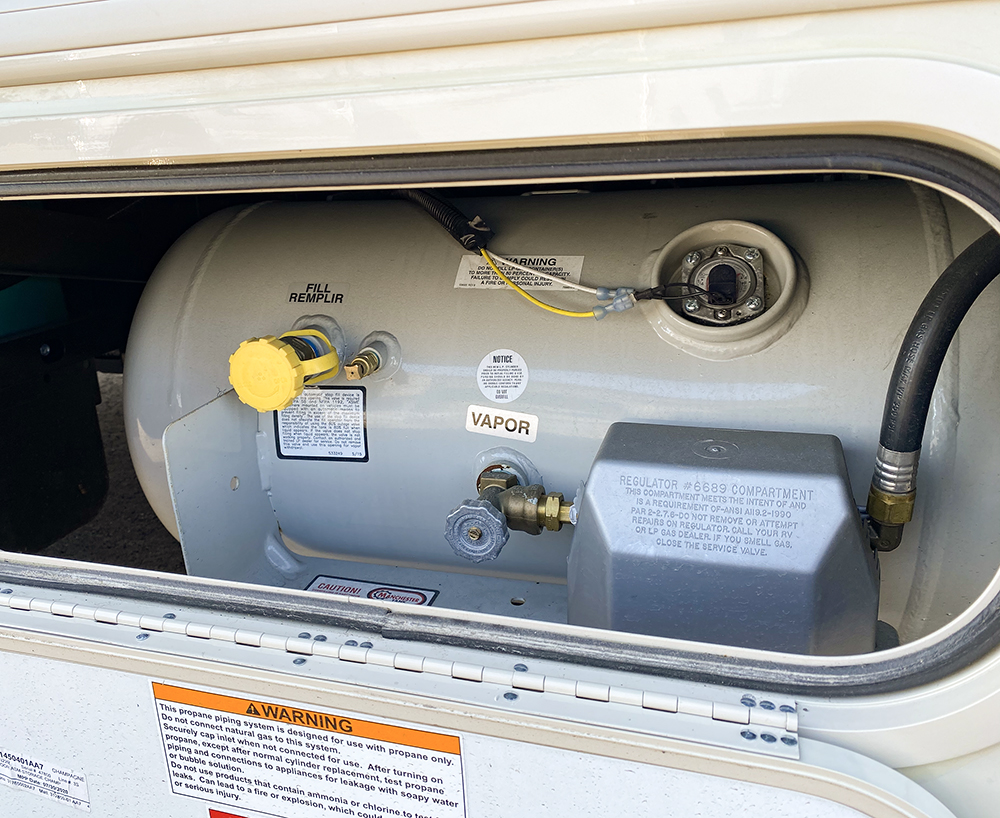
Reconnect your propane tanks and inspect the connections, hoses, and look for any signs of wear and tear or damage. You can use soapy water or a flammable gas detector to check for any leaks in the system. The propane tanks are labeled with a certification sticker and must be recertified at an inspection station 12 years after the date of manufacturing.

Tires
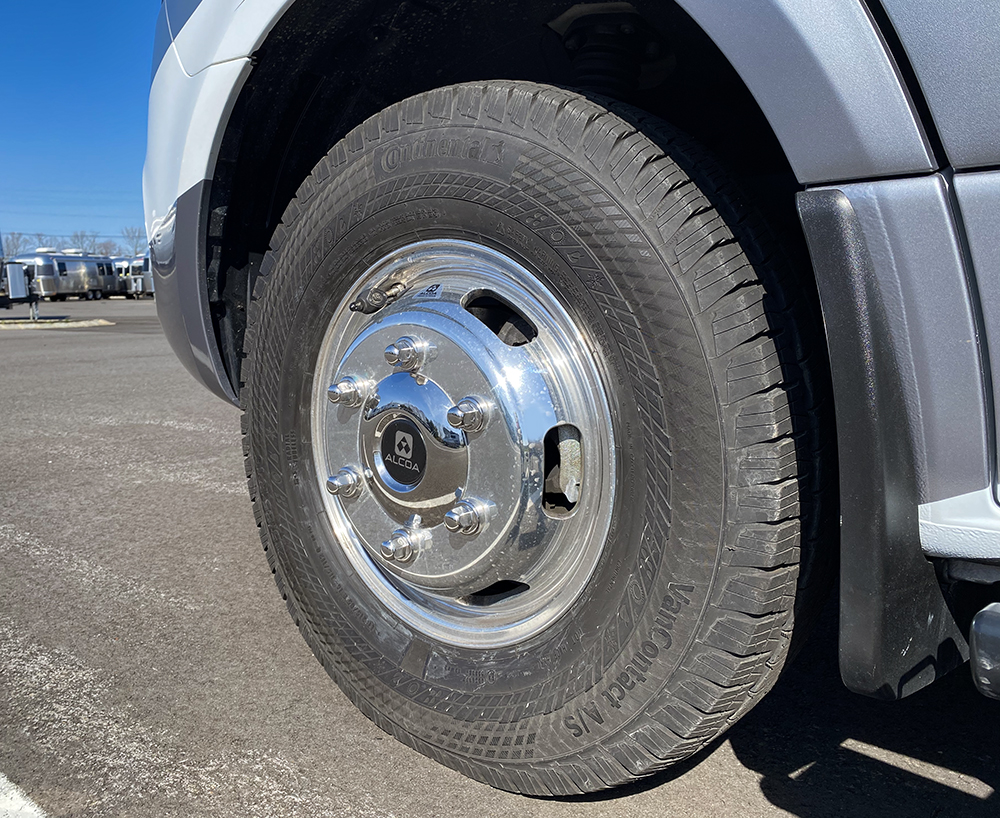
Before you hit the road be sure to inspect your tires for any cracks, wear, or damage, and inflate the tires to the recommended pressure. Be sure to also check the spare tire. Now is also a good time to check the lug nuts and tighten if needed.

Extras
- Check engine oil, coolant, and other fluid levels
- Inspect engine belts for cracks
- Test smoke alarms and carbon monoxide detectors
- Test generator and check oil level
- Check headlights and other exterior lights
If you have any questions or would like more information about de-winterizing your RV, give us a call at 1-800-265-9019. You can also contact our Service Department to have your Motorhome de-winterized.


